
This is an old revision of the document!
Table of Contents
App Store Connect: Back Up and Restore
App Store Connect is quick to install, but at some point you may wish to consider a back up policy. Particularly if you've configured multiple data sources and/or are using the built-in Edge Historian to store application data (e.g. Alarm Analysis or Controller Consultant reports).
Depending on your circumstances, the following options are available:
Virtual Machine Snapshot
If App Store Connect is installed on a Virtual Machine, snapshot is a reliable way to back-up an entire server. Refer to VM documentation for information on how to create, schedule and restore snapshots.
Manual Backup
If snapshot is not an option, configuration and data files can be manually backed up and restored. Instructions are provided below.
1. Back Up App Store Connect Configuration
Details to follow
2. Back Up Edge Historian Data Files
2.1 Prepare a back-up location
Stop the Windows Service “Intelligent Plant Big Data Service 2.0”.
Edit Elasticsearch configuration file: C:\Program Files\Intelligent Plant\Big Data\es\config\elasticsearch.yml
(This is a text file using YAML format and that can be edited in any text editor.)
#Define Physical Repo for snapshots
#More info: <https://www.elastic.co/guide/en/elasticsearch/reference/current/modules-snapshots.html>
path.repo: "C:\\Temp\\Backup"
Uncomment the path.repo entry (remove hash) and provide a filepath to your back-up location.
Restart the Windows Service “Intelligent Plant Big Data Service 2.0”.
2.2 Create a database snapshot
Start the Big Data Back-up utility (“BackupUtility.exe” - available on request) and enter command “Snapshot”.
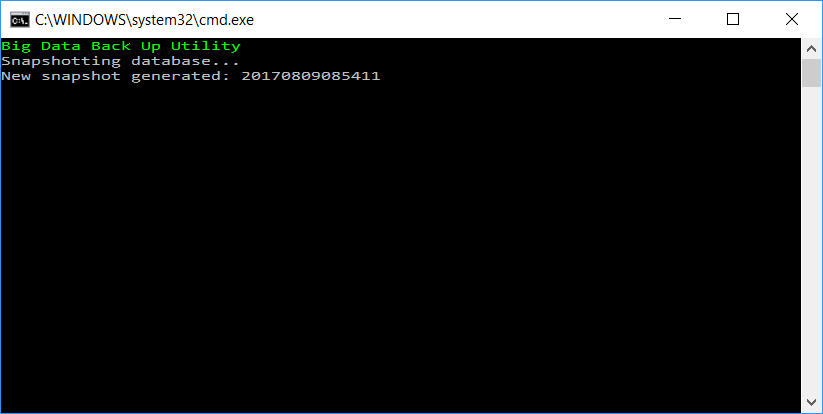
This creates a database restore point protecting against data corruption or accidental loss.
2.3 Archive back-up files
To protect against hardware failure, the contents of the back-up folder (defined in step 2.1) should be copied to an alternative location.