Table of Contents
How to Connect your Data to the App Store
Connecting to the App Store allows you to use your own data sources (including OSIsoft PI, OPC, and more) with App Store applications such as Gestalt Trend and PnID. It does this via a secure outgoing connection. It will not compromise the security of your server or network.
To get up and running, you need to undertake the following tasks:
Each step is explained in detail below:
Install App Store Connect
The first step in connecting your data to the App Store is downloading and installing App Store Connect.
- Go to the App Store, log-in and select My Account > Get Connected
- Click on Download App Store Connect
- Once downloaded, start the Installer (right click and select “run as administrator”).
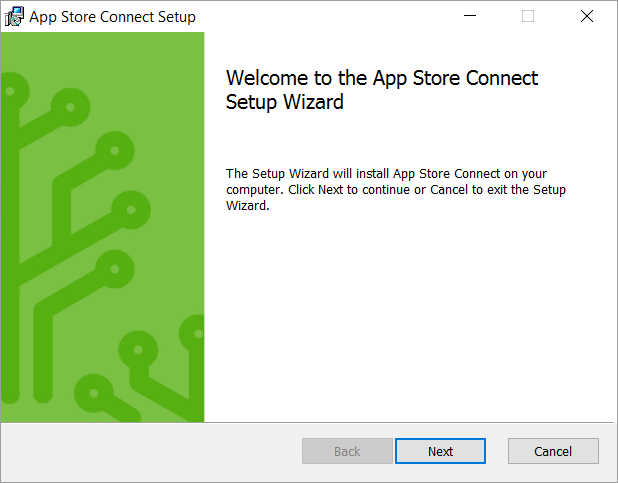
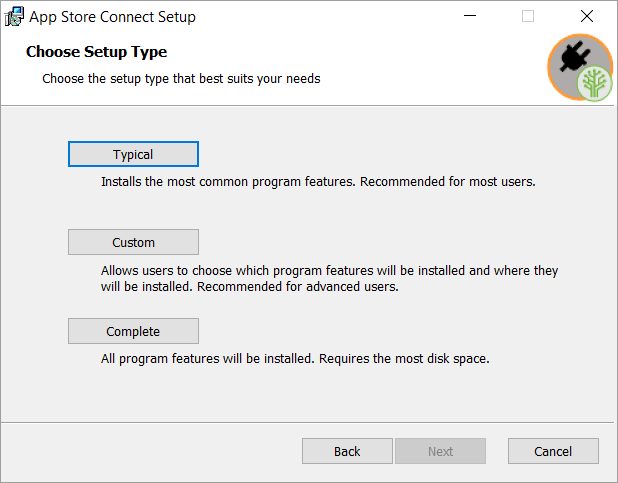
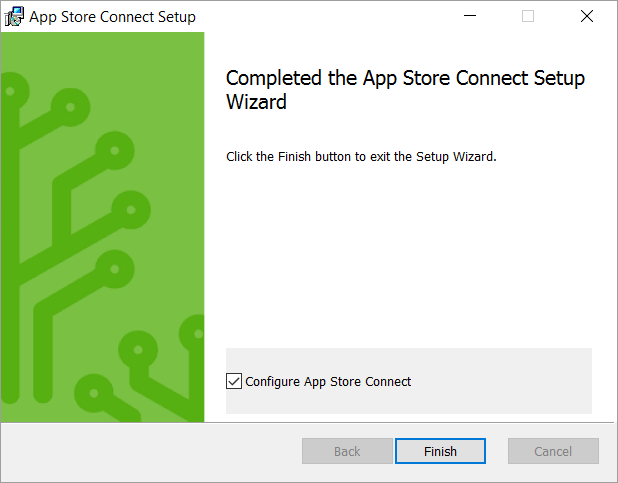
The installer takes you through the following steps. We recommend you choose the default Typical set-up option.
Configure App Store Connect
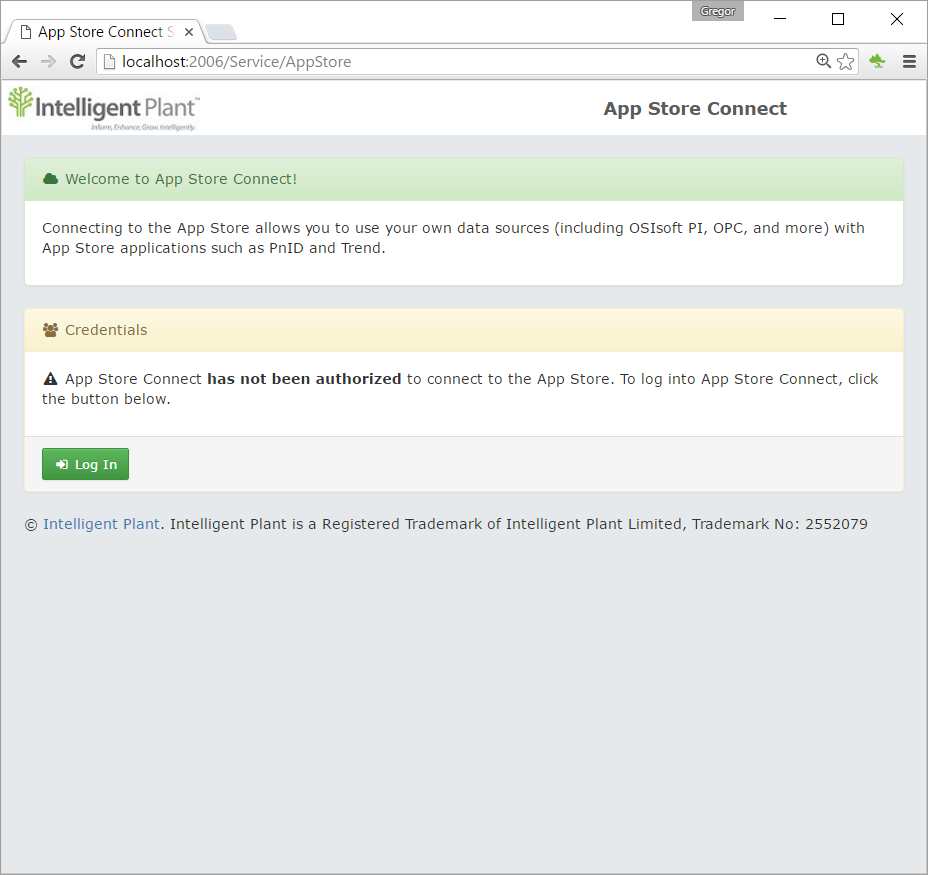
Once installed, open the configuration page (http://localhost:2006/Service)
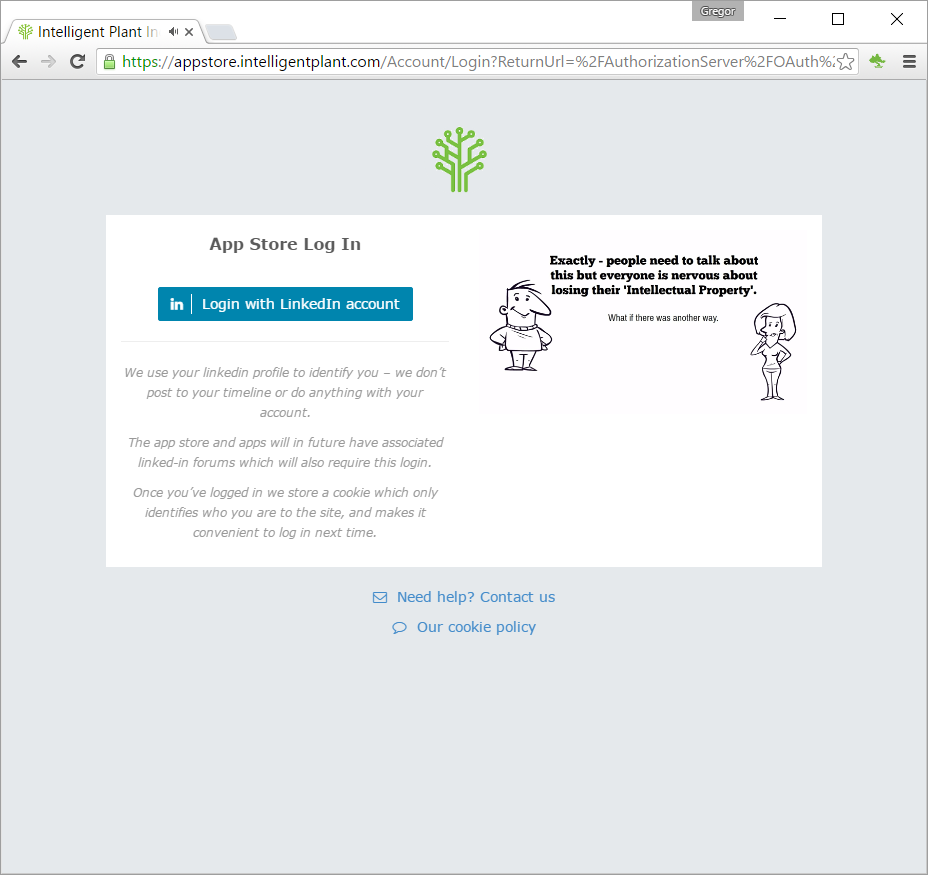
1. Authorize App Store Connect by selecting “Log In”.
The account you use to log-in is important. For example, if you log-in using a work account, the App Store Connection is immediately assoicated with your organization, thus enabling data sharing with organization colleagues and other parties trusted by your organization.
Typically, the person in charge of the App Store Connect performs the initial log-in operation. Alternatively, a dedicated service account can be employed. For the latter, the service account does not need any elevated priviliges, but must support interactive login to allow for the initial authentication step.
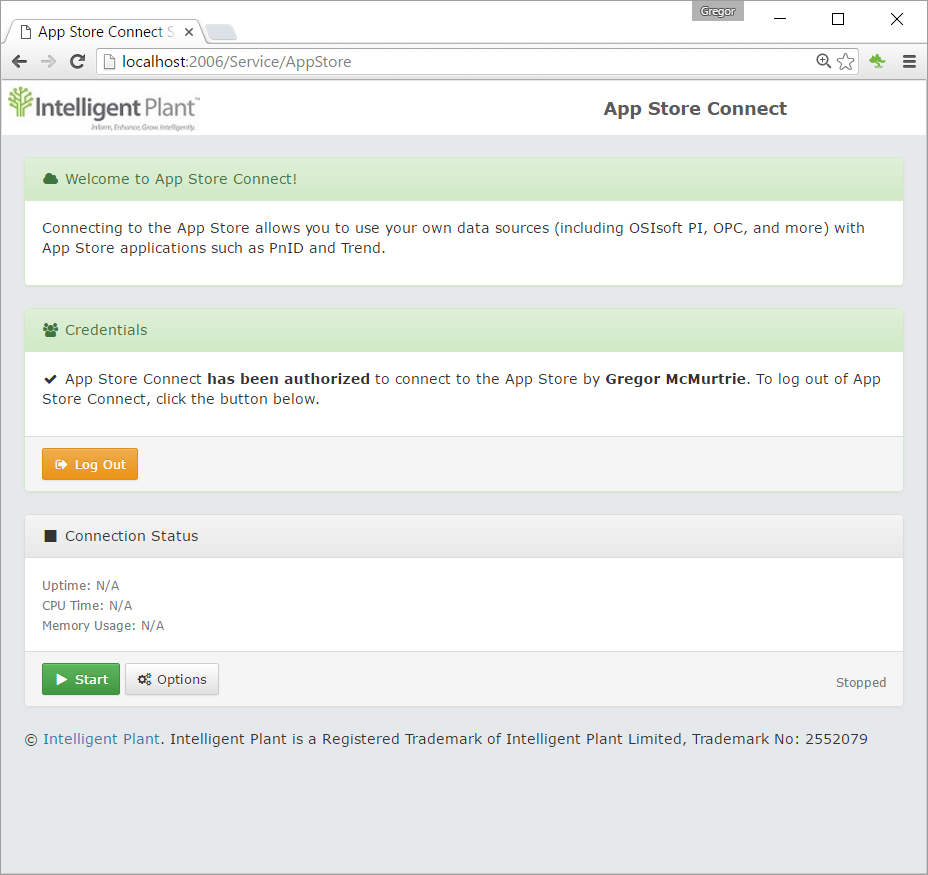
3. Once credentials are set, start it up.
Connect Data Sources
To connect Data Sources, we need to configure Data Core.
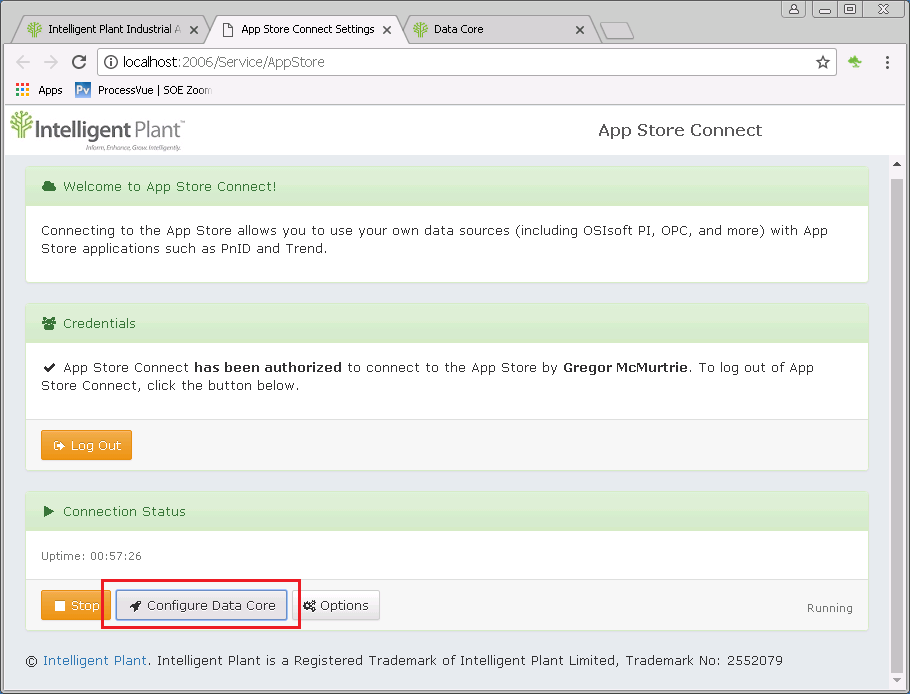
1. Open the App Store Connect configuration page (http://localhost:2006/Service) then select “Configure Data Core”
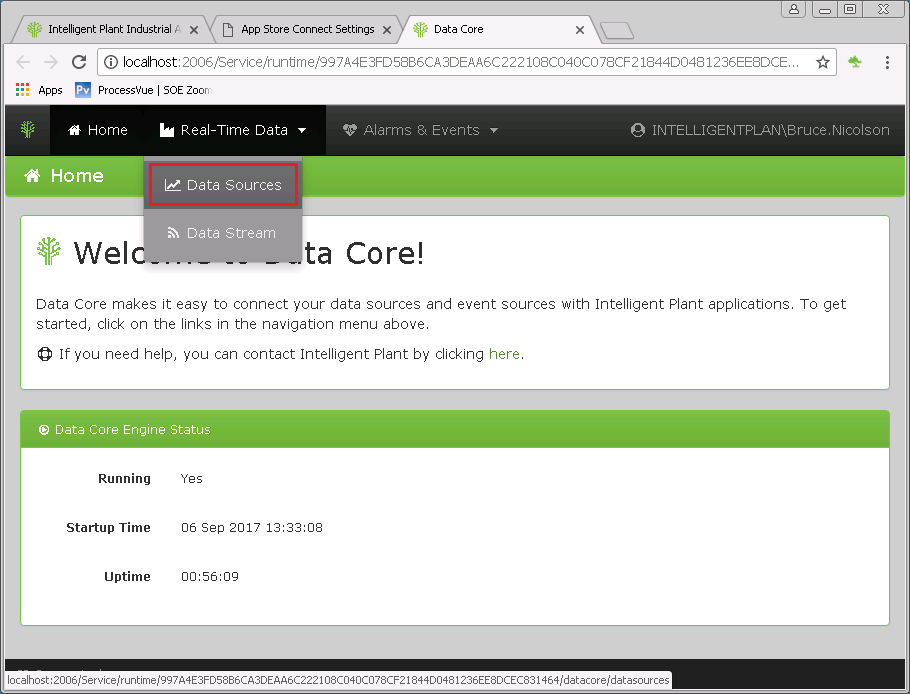
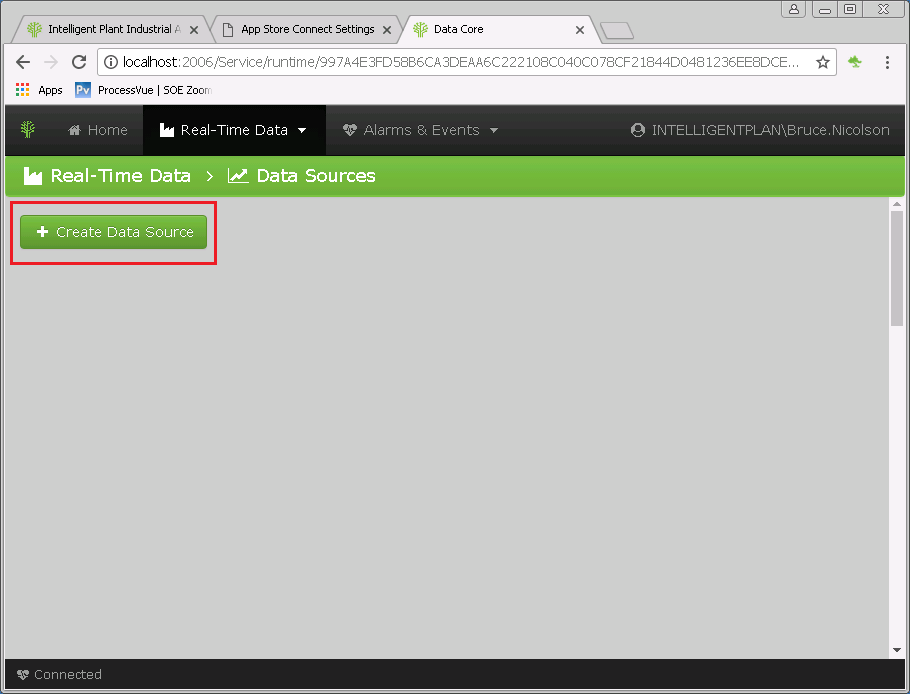
2. From top navigation, select “Real Time Data > Data Sources”.
NB. Only Data Core Administrators can configure data-sources. If “Real Time Data” is not present in the menu navigation, refer to Data Core Administrator Privileges.
3. Select “Create a Data Source”
You will be presented with a list of available datasources - each with it's own properties and settings. For driver specific information, refer to Advanced Data Core Configuration.
Get in touch and let us know about the data you're connecting.

